
Introduction
With the recent Facebook privacy scandal, which in fact has always been a problem not only with Facebook, but with almost all cloud services, people are becoming more aware of the issue, and taking some measures to protect their privacy.Besides avoiding suspicious Facebook apps and unknown "friends", which is the root of the recent scandal, our privacy can be, and in fact is, breached without our consent on a daily basis, by ads and tracking code on websites, spywares that invaded our devices, or even legitimate apps bundled with not-so-legitimate tracking code.
A good way to vastly decrease this privacy breach (but not totally avoid, as it would take additional measures), is to use a good ad-blocker. Despite the name, they not only block ads, but also some spywares or even other malwares, as long as you use a good blocking list (I'll explore it later on this article). They can be installed as a browser extension, working only for the websites you visit; as a system app, working for all apps on your device; or as a network service, working for all devices on that network.
In this article, I will show you how to protect your entire local network with an open-source, simple to install, lightweight and fully functional network ad-blocker: Pi-hole.
About Pi-hole
According to its GitHub page, "Pi-hole is a DNS sinkhole that protects your devices from unwanted content, without installing any client-side software". It consists of several open-source solutions that work in tandem to provide an effective network-wide ad-blocker:- DNSmasq: a lightweight DNS and DHCP server, widely used on Linux servers.
- Lighttpd: a simple, fast and light HTTP server, used for the Pi-hole web interface.
- PHP: the popular web development language, used for the Pi-hole web interface.
- FTL engine: the Faster-Than-Light engine, developed by the Pi-hole team, used to provide statistics for the web interface and an API.
- AdminLTE Dashboard: Pi-hole's web interface, featuring a control panel for full systems management and statistics visualization.
The Pi-hole installation is very simple, prepared to be straightforward on most major Linux distributions. You basically need just a minimal Linux system installed and with LAN and Internet connectivity, and once Pi-hole is installed, it's just a matter of reconfiguring your LAN devices to use it as the main (and preferrably the only) DNS server.
Time to go hands-on and deploy a Pi-hole server!
Pi-hole Installation
I'm assuming you have a computer with one of the main Linux distributions installed (can be an old laptop or even a Raspberry Pi, for instance; it's not resource-hungry), or a properly configured VM, with LAN and Internet access, before we proceed. I'm using CentOS 7 on an old Intel Atom netbook (and for the sake of this article, I used a VM to show the installation steps, since I already had Pi-hole deployed on my network).With that Linux system booted, it's just a matter of issuing the following command as root:
curl -sSL https://install.pi-hole.net | bash
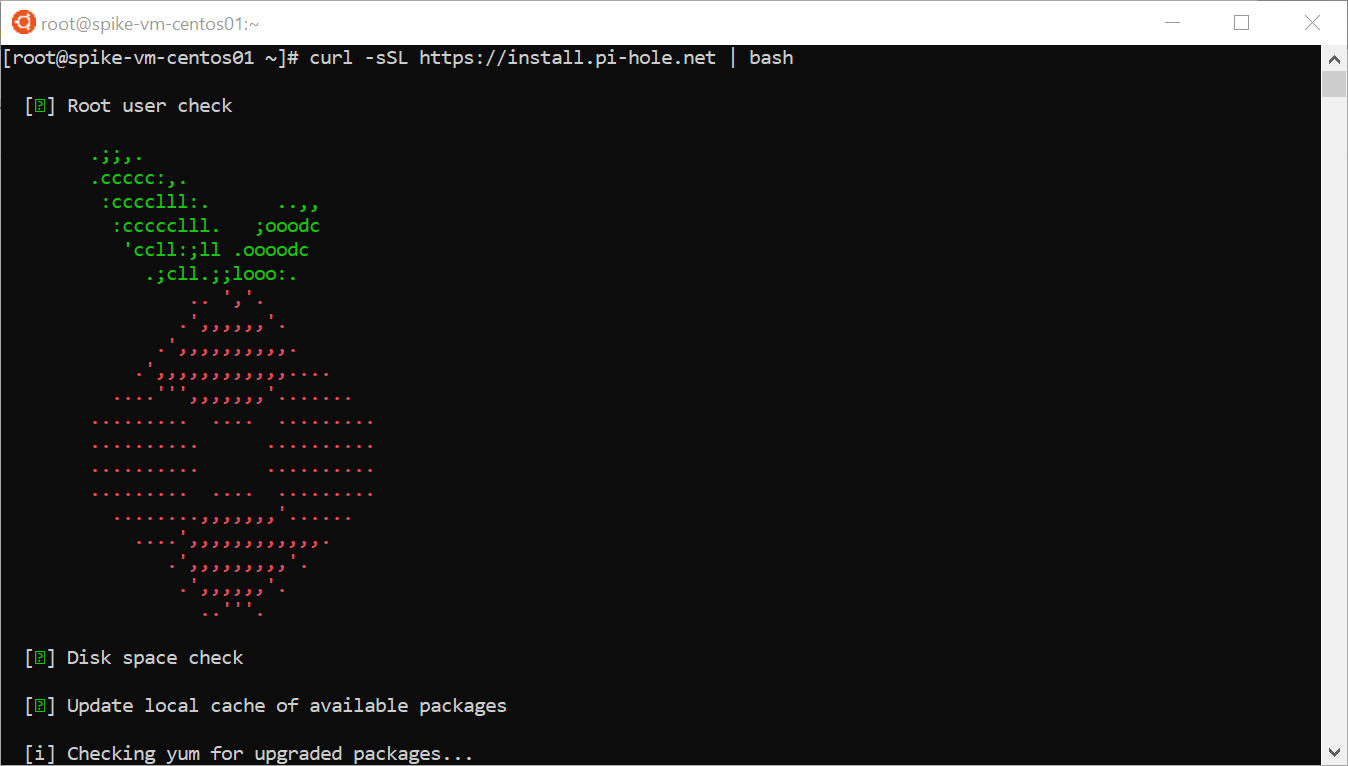
Yep, it will take care of business. It will proceed showing you a series of dialogs, with some install and configuration options. You may see this warning on systems that use SELinux, such as RHEL and CentOS:
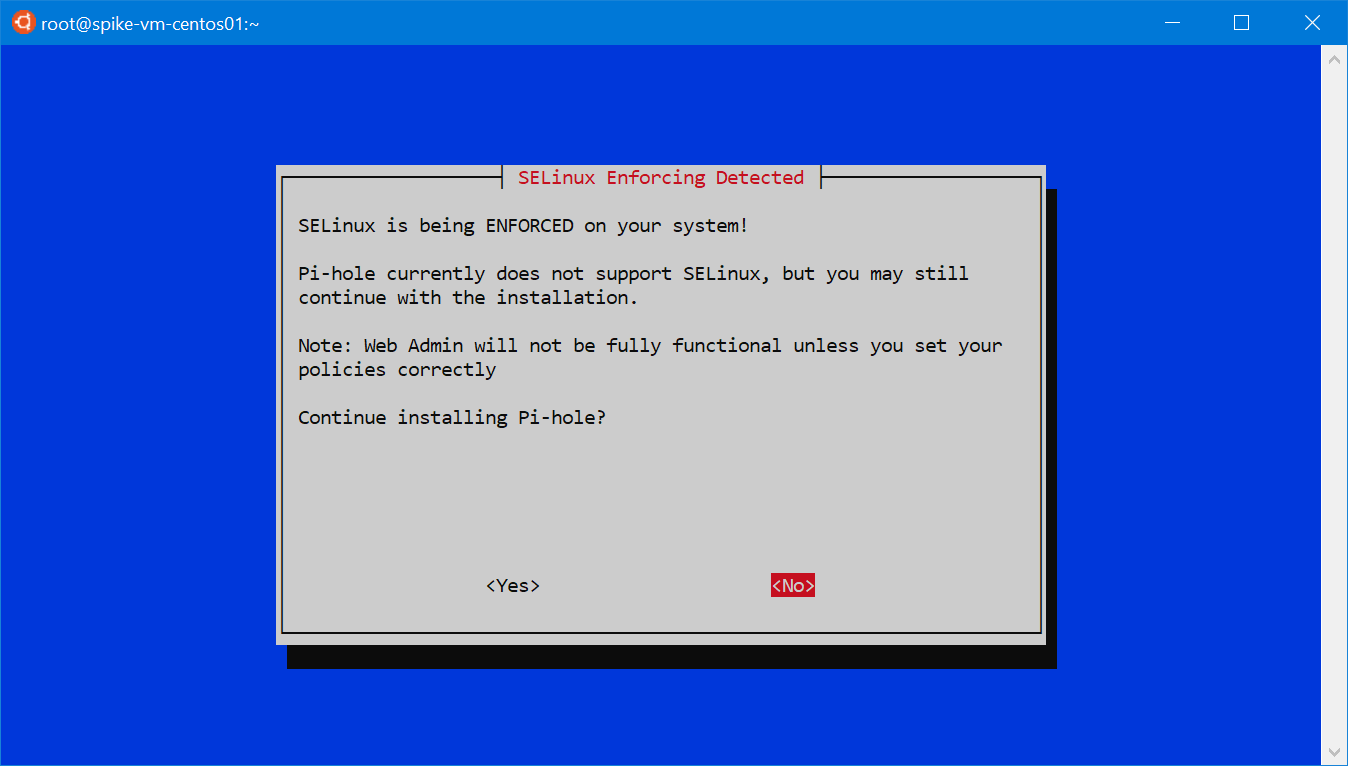
You have the option to tweak the SELinux policies to allow whatever Pi-hole needs, if you'd like to keep using SELinux, or disable it (not covered on this article).
Another important configuration dialog is the one that asks which upstream DNS provider to use. There are some pre-configured options, but since I prefer to use the new CloudFlare's 1.1.1.1 service, I'll choose Custom and enter the IP addresses manually:


The next dialog asks if it should use IPv4, IPv6 or both. Choose accordingly to your network. Go forward, and choose to install the beautiful and useful Pi-hole's web admin interface. Also keep enabled the log queries, otherwise the statistics will be rather useless.


Finally, after installing some needed packages and pre-configuring its modules, the installation will be complete.

It will show a final dialog with important information; take note of the IP address, the web interface URL, and its login password.

And we are done! Of course, now we should do some additional configuration on both Pi-hole, our network router, and client devices.
Configuring Pi-hole
Pi-hole can be configured both by command line and its web-based control panel. I'll use the latter, which will also show you its beautiful web interface for statistics. Since we are still not using Pi-hole's DNS server as default, let's access it using its IP address and password shown in the final installation dialog (you saved that info, right? ;) ):http://<Pi-hole's IP address>/admin/index.phpThe Dashboard will show you an overview of Pi-hole's status and main statistics. In my case, since I already had it running for some days, it shows a total of 8440 queries from 9 clients, 17.9% of them blocked.

Exploring the statistics, I can see below that in the Top-10 blocked domains, Google (Analytics and Ads) make the top 6 entries, with Facebook in a close 8th. Surprised? Not me...

Click on the Settings option on the left: this is Pi-hole's control panel. On the first tab, System, we see some system information and can control its operation:

The second tab, Block Lists, shows us which blocklists are in use. Pi-hole feeds them to DNSmasq, providing a very efficient way to block hundreds of thousands of hosts, as it comes configured by default. These lists are updated automatically, through a cron job created by Pi-hole.

It's important to mention that you can whitelist and/or blacklist individual hosts, using the corresponding options on the left. I, for instance, needed to temporarily whitelist "analytics.google.com" for testing purposes; it was just a matter of adding it to the whitelist, and it took effect immediately:

The third tab lists the upstream DNS servers configured, as well as the interface(s) Pi-hole should bind to, and some other DNS-related options. Notice how it's using the CloudFlare's DNS addresses I configured during installation:

On the DHCP tab, we can configure Pi-hole to be also a DHCP server. Yeah, it's not only a DNS server! I chose to use this feature instead of my router's built-in DHCP server, because it nicely integrates with the DNS, meaning that new hosts on my network that get an IP address through its DHCP, can be immediately reached also by name, without a single configuration change. How cool is that?


The final two tabs, API / Web Interface and Teleporter, allow us to configure some API and privacy settings, and to backup or restore Pi-hole's settings and lists.


Configuring the router
The main router that serves your network, which is probably your WiFi router, needs to have two simple parameters changed:- LAN DNS server: must now point to Pi-hole's IP address.
- DHCP server: if you chose to use Pi-hole's built-in DHCP server, disable your router's; otherwise, leave it enabled.
I'll illustrate the two settings using my TP-Link WiFi router as an example:

Each router's configuration interface is different, of course, but it's usually intuitive, given you now know what to do.
Configuring client devices
If all your LAN devices use DHCP (if you never configured an static IP address, default gateway etc., they do), just renew its information. The easiest way is to disable local connectivity (e.g. WiFi), wait 5 seconds, and reenable it. Check if it got Pi-hole's IP address as primary DNS server (there are several utilities to show that configuration, for Windows, Android, iOS etc.); if it worked, you should see those nasty ads disappear and Pi-hole's statistics grow.If your LAN devices use static network configuration, I don't need to tell you what to do. :)
Conclusion
Pi-hole simplicity and efficiency makes it brilliant, and a perfect add-on to everyone's local network. And since it's not resource hungry, it can be installed on old hardware, or even a Raspberry Pi or similar.In my case, I had an old netbook (yeah, remember those, before the tablet hype?) that was sitting in my lab, unused, for years. It's an Intel Atom N455, with 2 GB of RAM, and I installed a 500 GB hard disk, since I also decided to use it as a media server (hmm, maybe I'll write an article about that). Deployed CentOS 7, Pi-hole and DONE. And best of all, it's using only 9 watts of power with the display off (well, after some hardcore Linux tweaking ;) ):

Since using Pi-hole means less ads in all my devices, and considering many of these ads are heavy to the CPU, probably those 9 watts are already paying for themselves.

Comments
Post a Comment